1. Link a “service type” to an NDIS support item
2. Add an NDIS package schedule (agreement) for an NDIS client
3. Create a budget (optional)
4. Add repeats and individual appointments, then follow formal process for loading appointments week by week
5. Generate NDIS Invoices
6. Download NDIS payment request file (CSV) or accounting system export
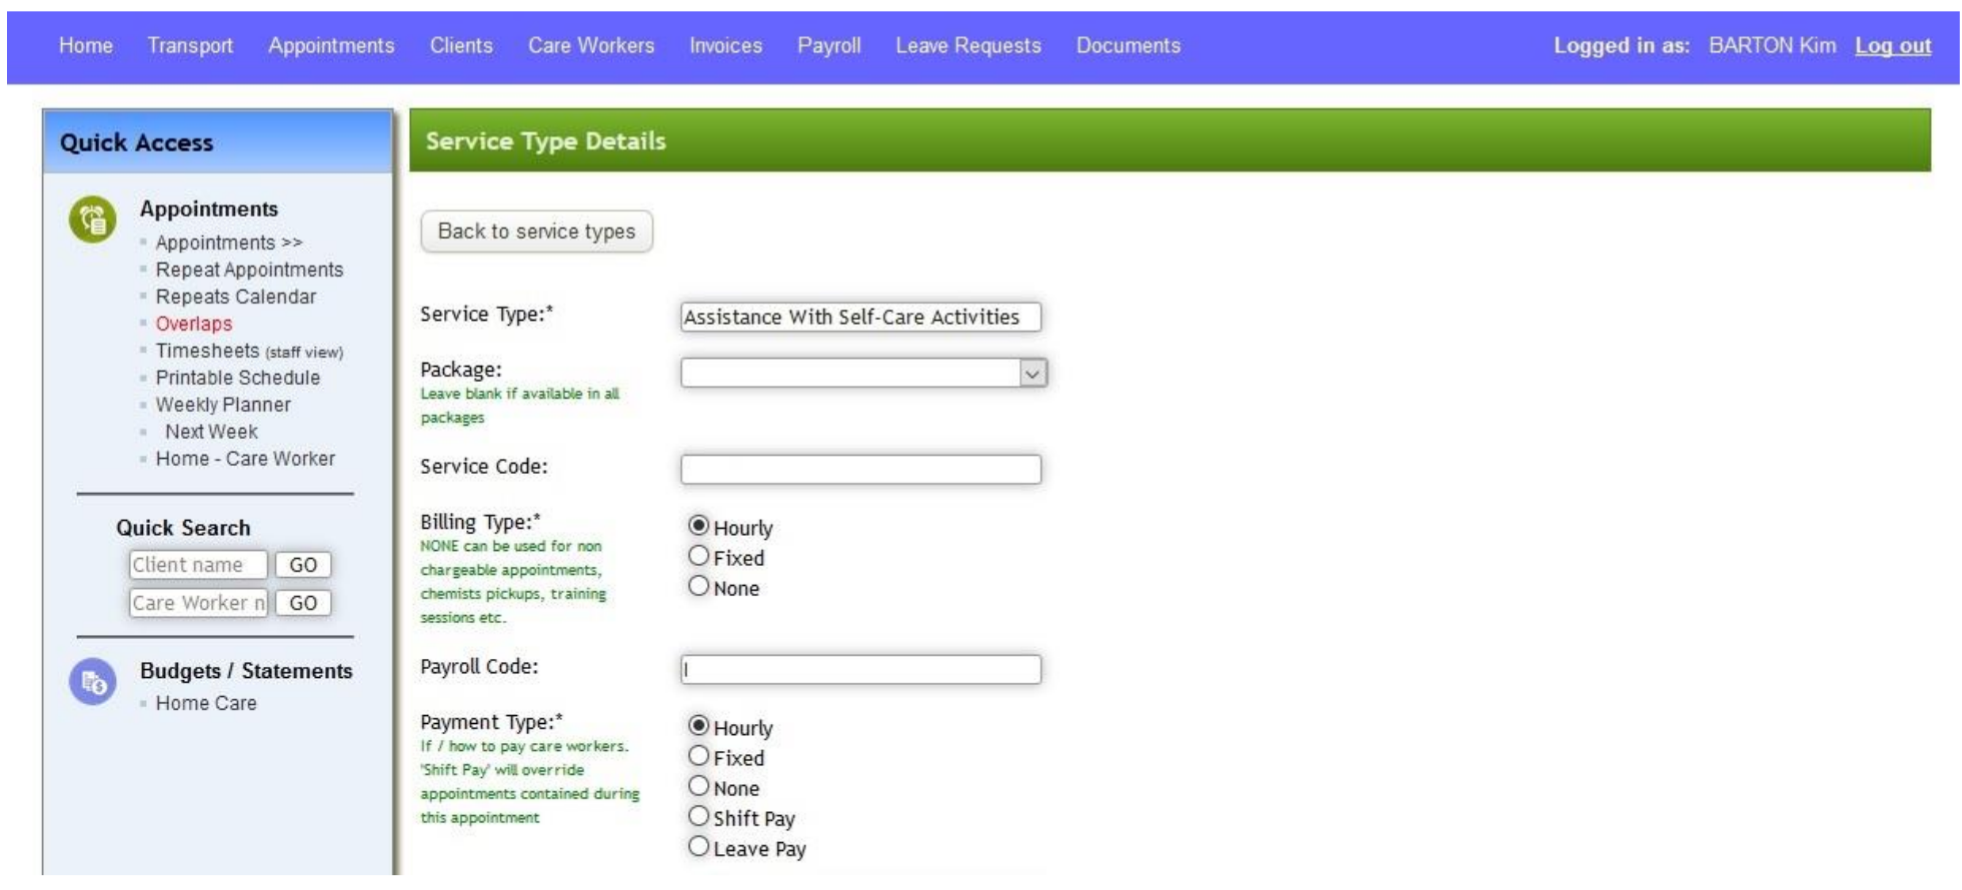
1. Link a “service type” to an NDIS support item
Find / add the service type you want to associate with, e.g. “Assistance With Self-Care Activities”
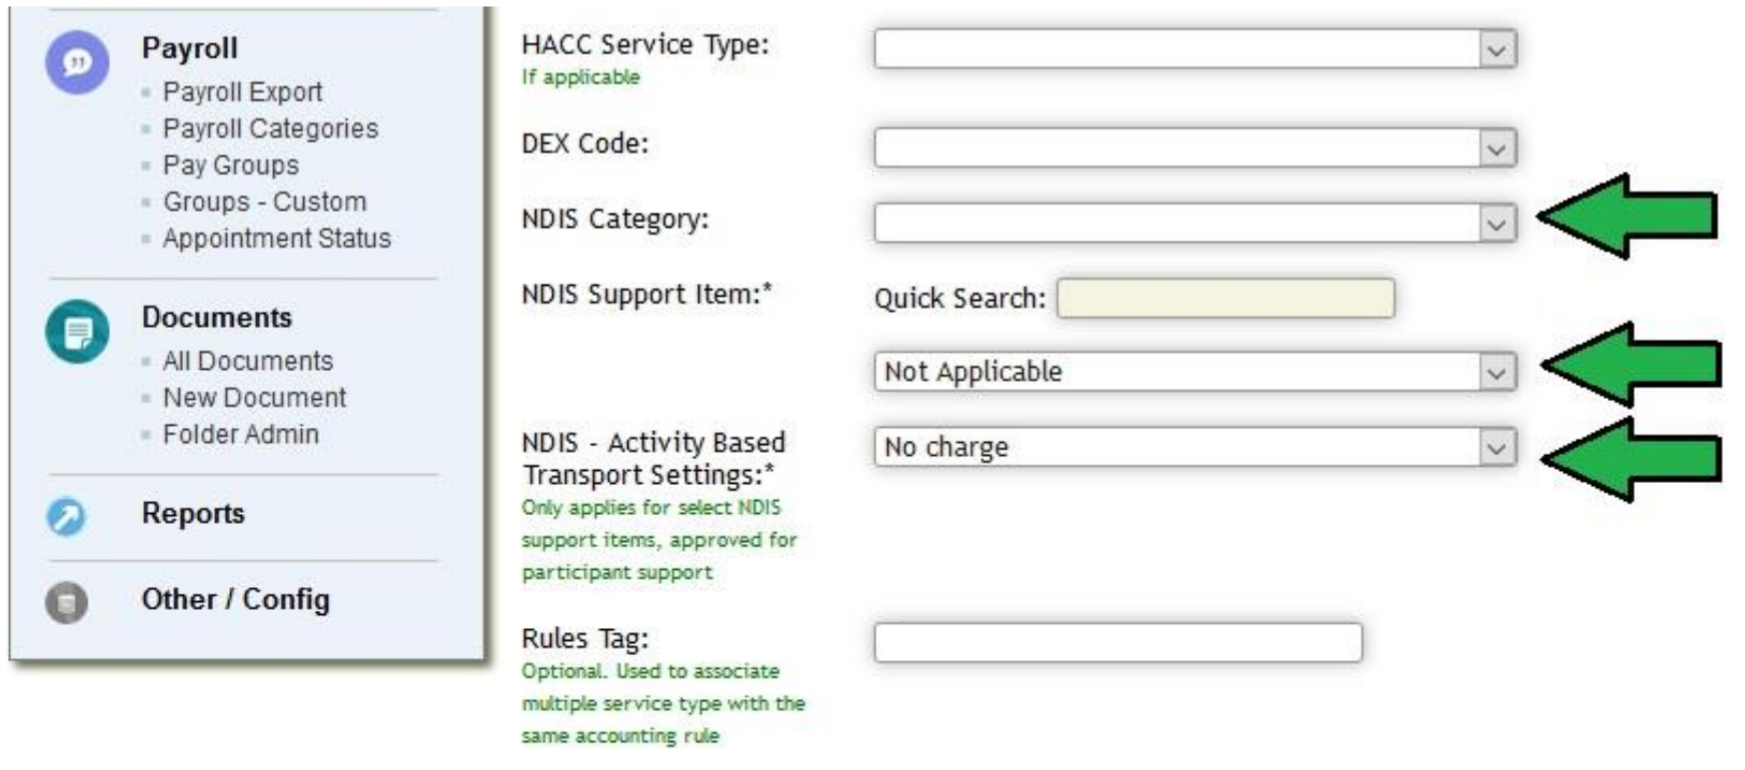
Select both the “NDIS Category” applicable and the “NDIS support item” applicable.
If your organisation is approved to charge activity based transport – make a selection here for either ‘modified’ ($2.40 / km) or ‘non-modified‘ vehicle ($0.85). Prices updated September 2020.
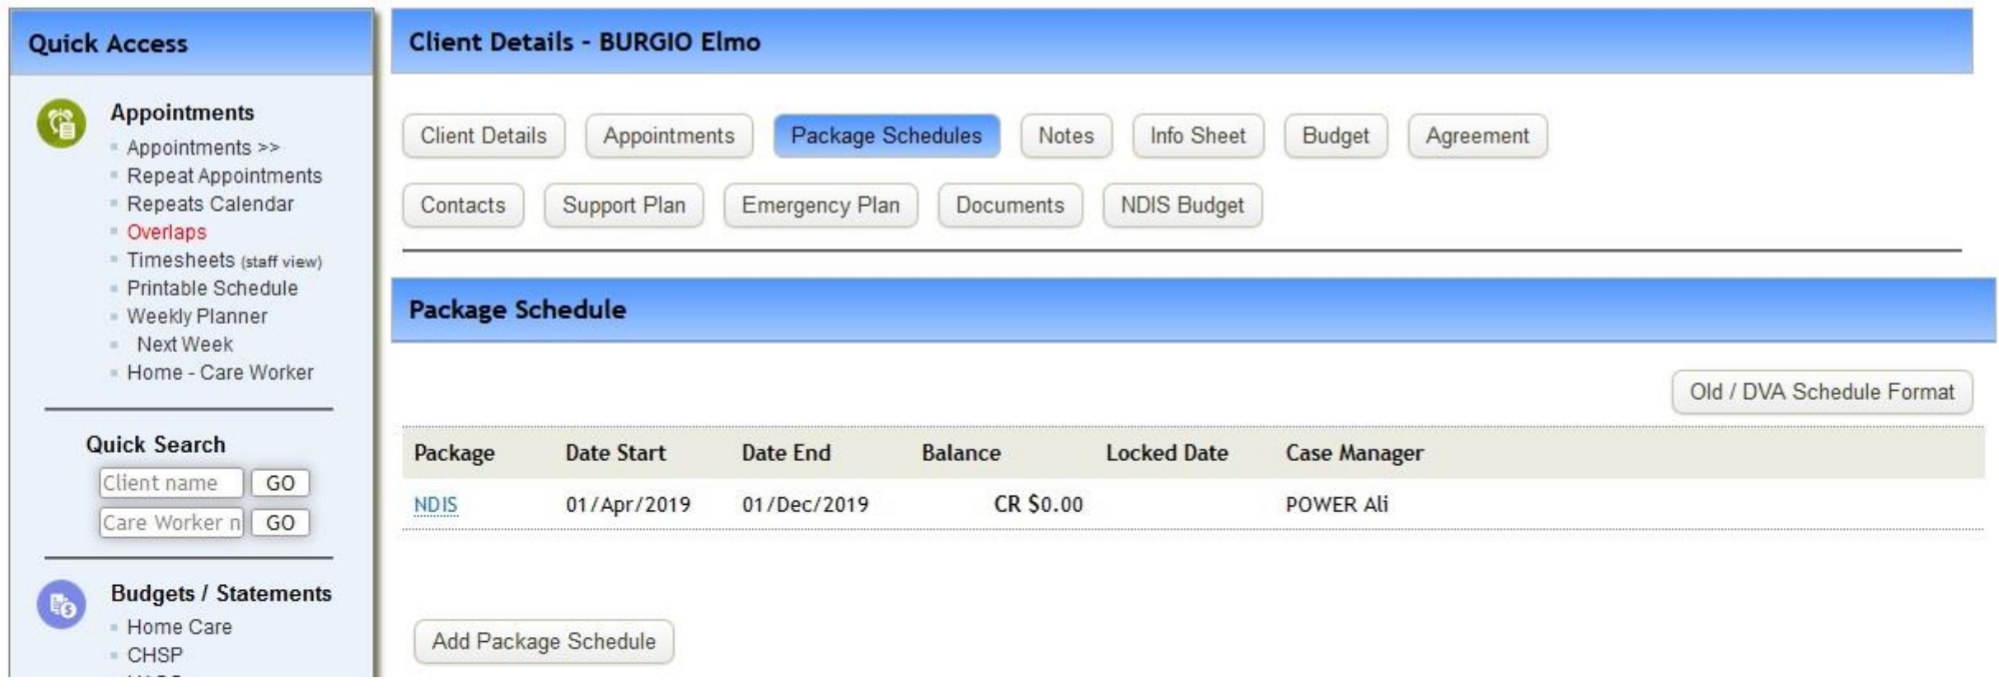
2. Add an NDIS package schedule (agreement) for an NDIS client
Find the client, go to “Client Details” and then “Package Schedules”.
Click “Add package schedule” and enter the NDIS agreement dates if applicable. Or the dates you expect to be servicing this client.
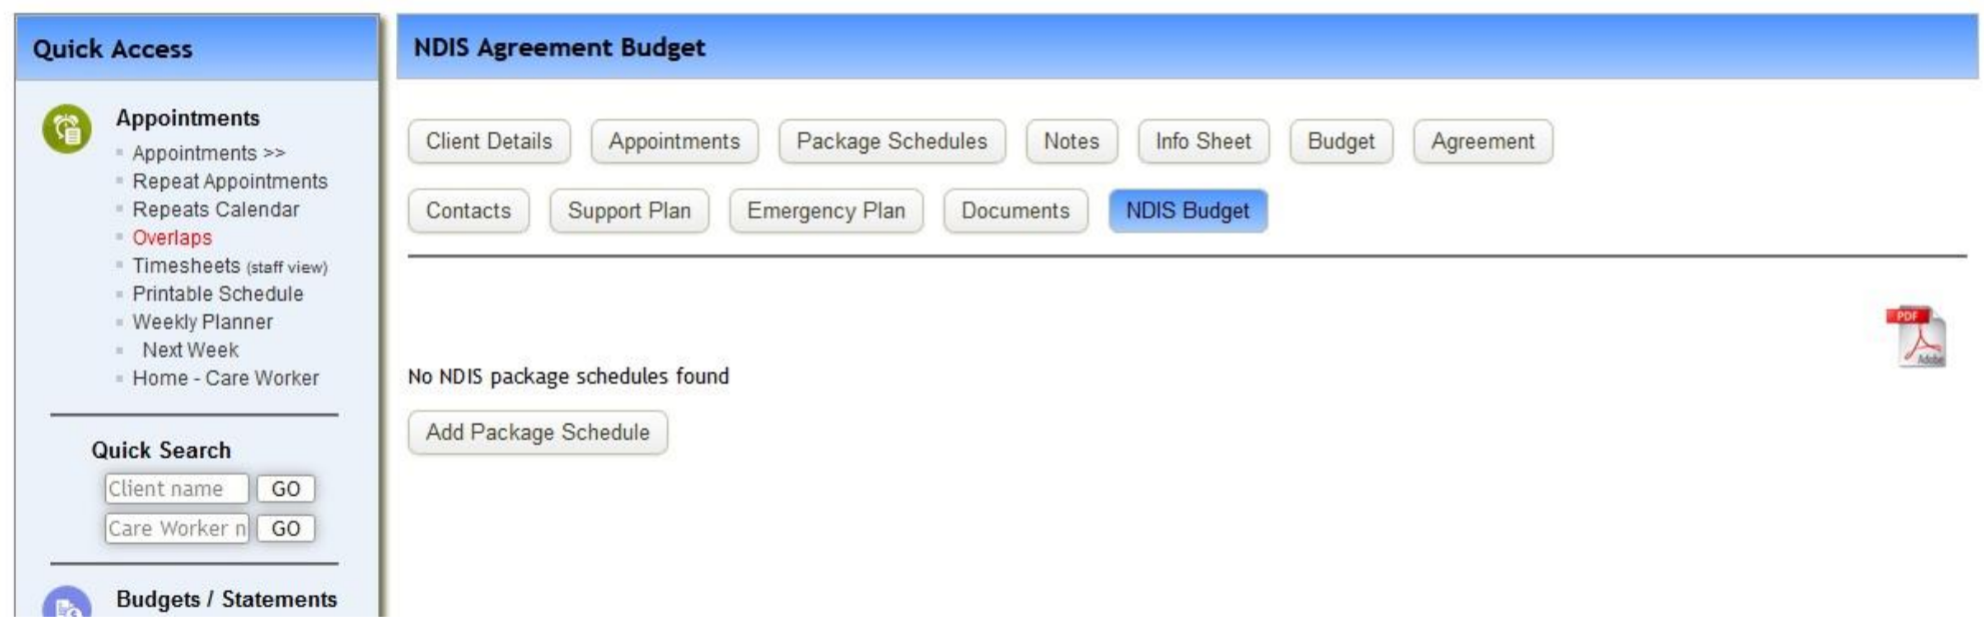
3. Optional: set up an itemised NDIS Budget
Click on NDIS Budget
Add a “Support Purpose” for each support purpose from the client’s plan (approved plan PDF from NDIS)
Copy the relevant support item’s “total funded support” into the spending cap below
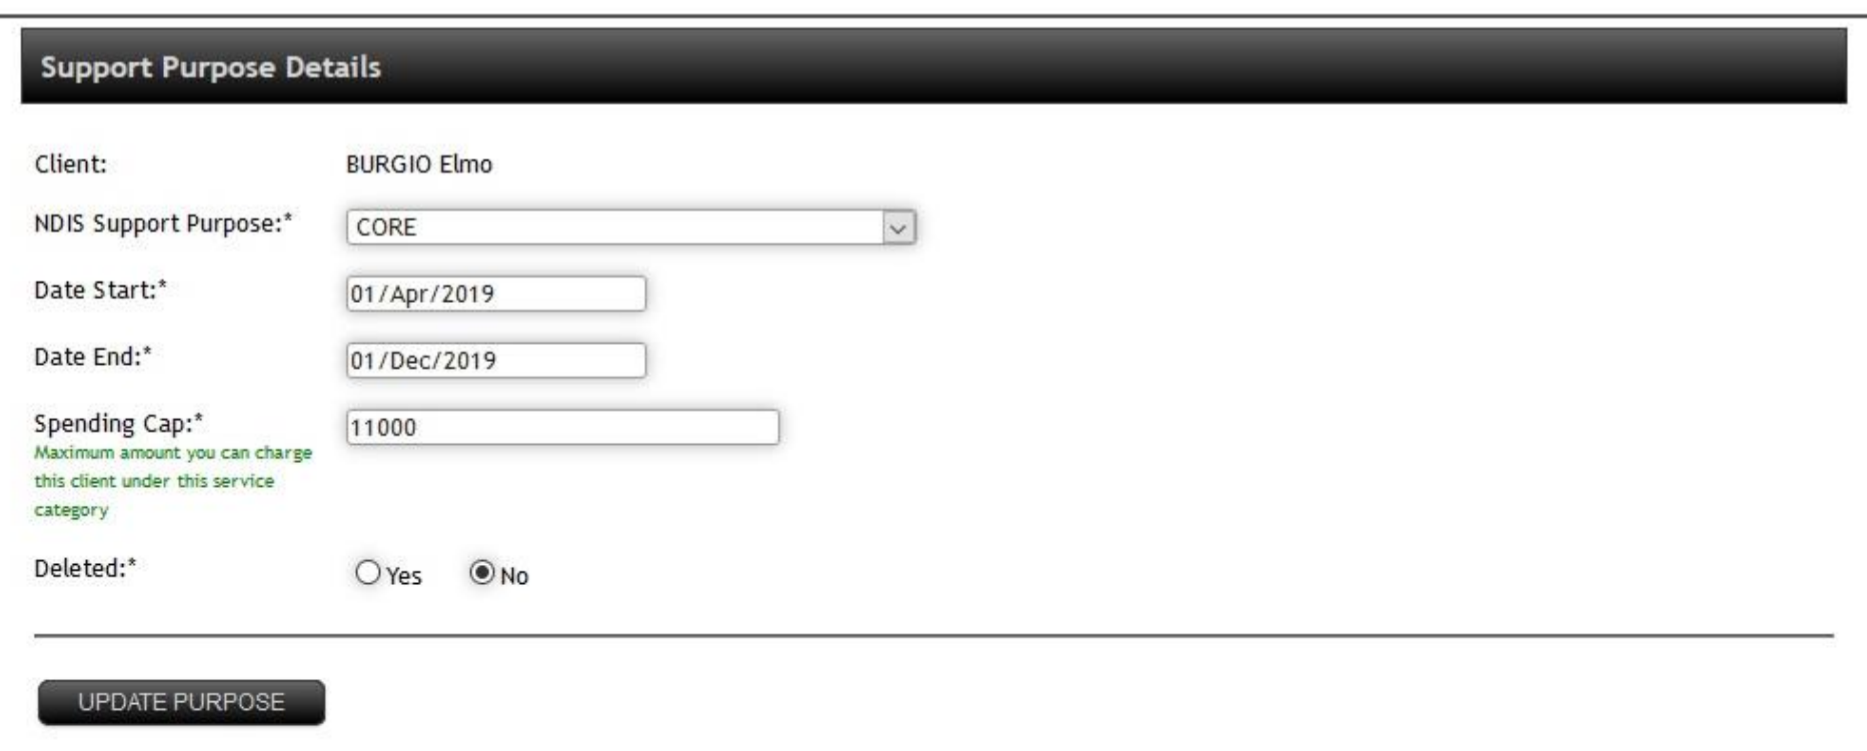
The following summary will appear
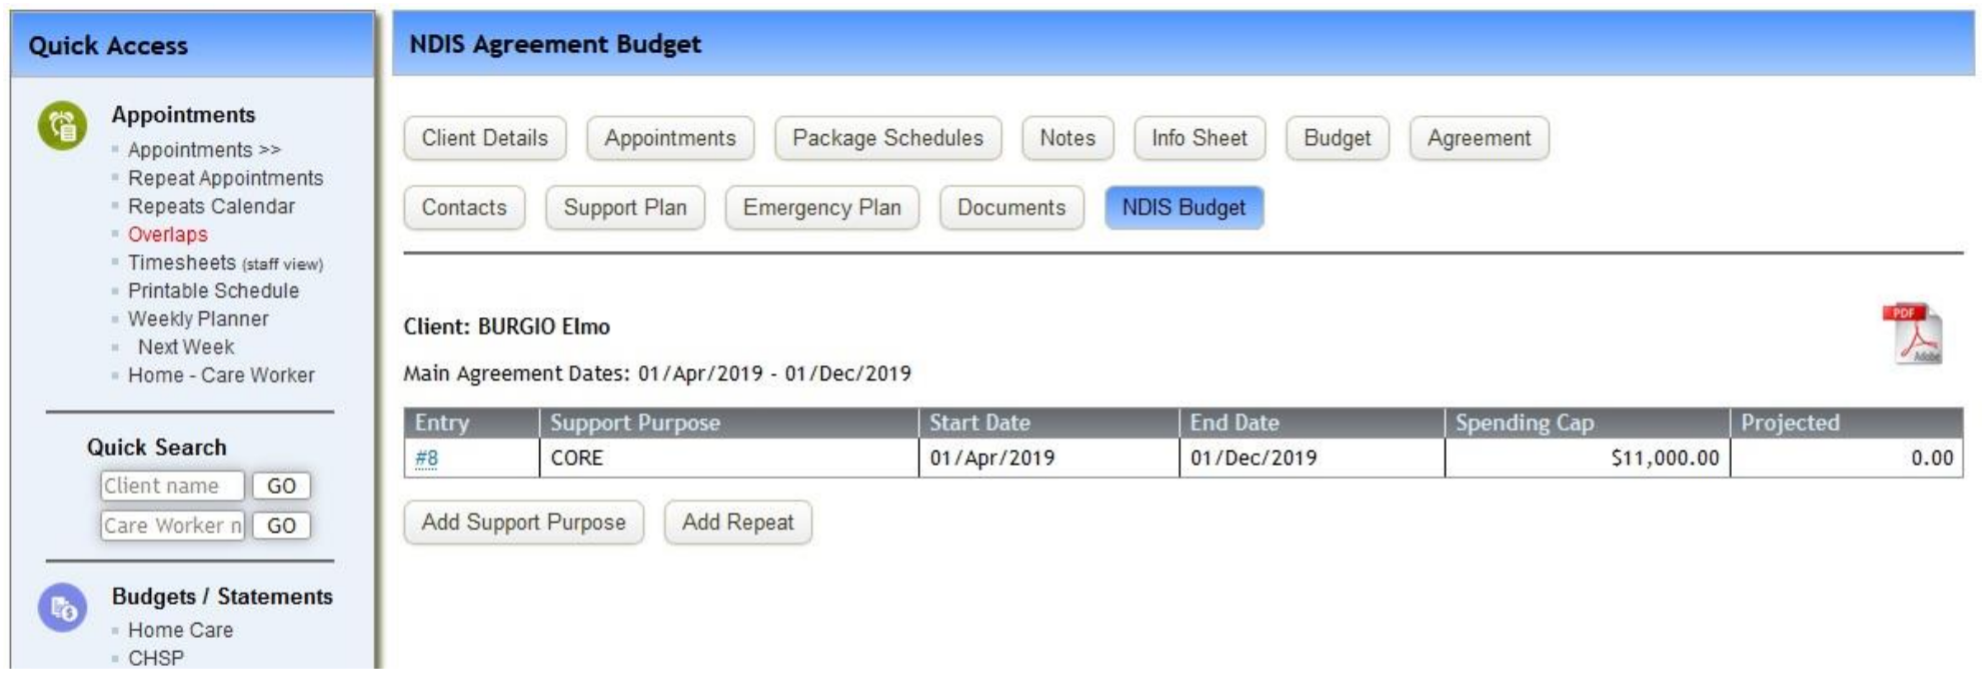
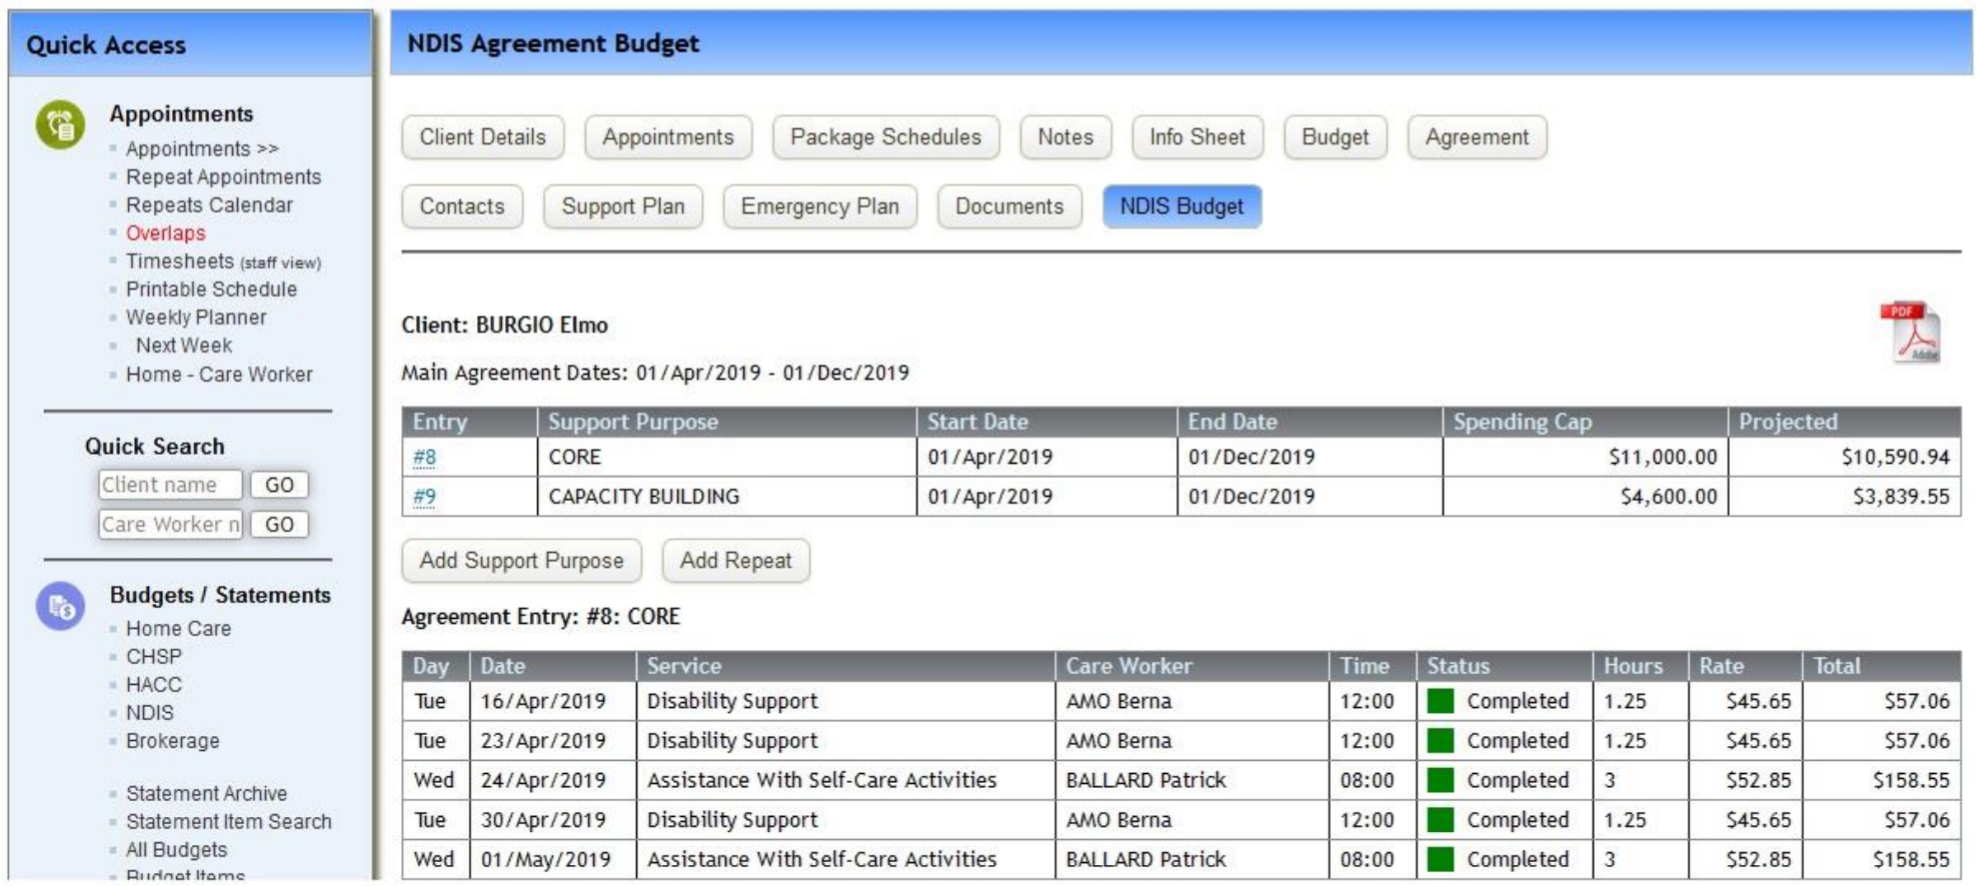
You may now add repeats under this support purpose, add additional support purposes and preview projected spend VS spending cap.
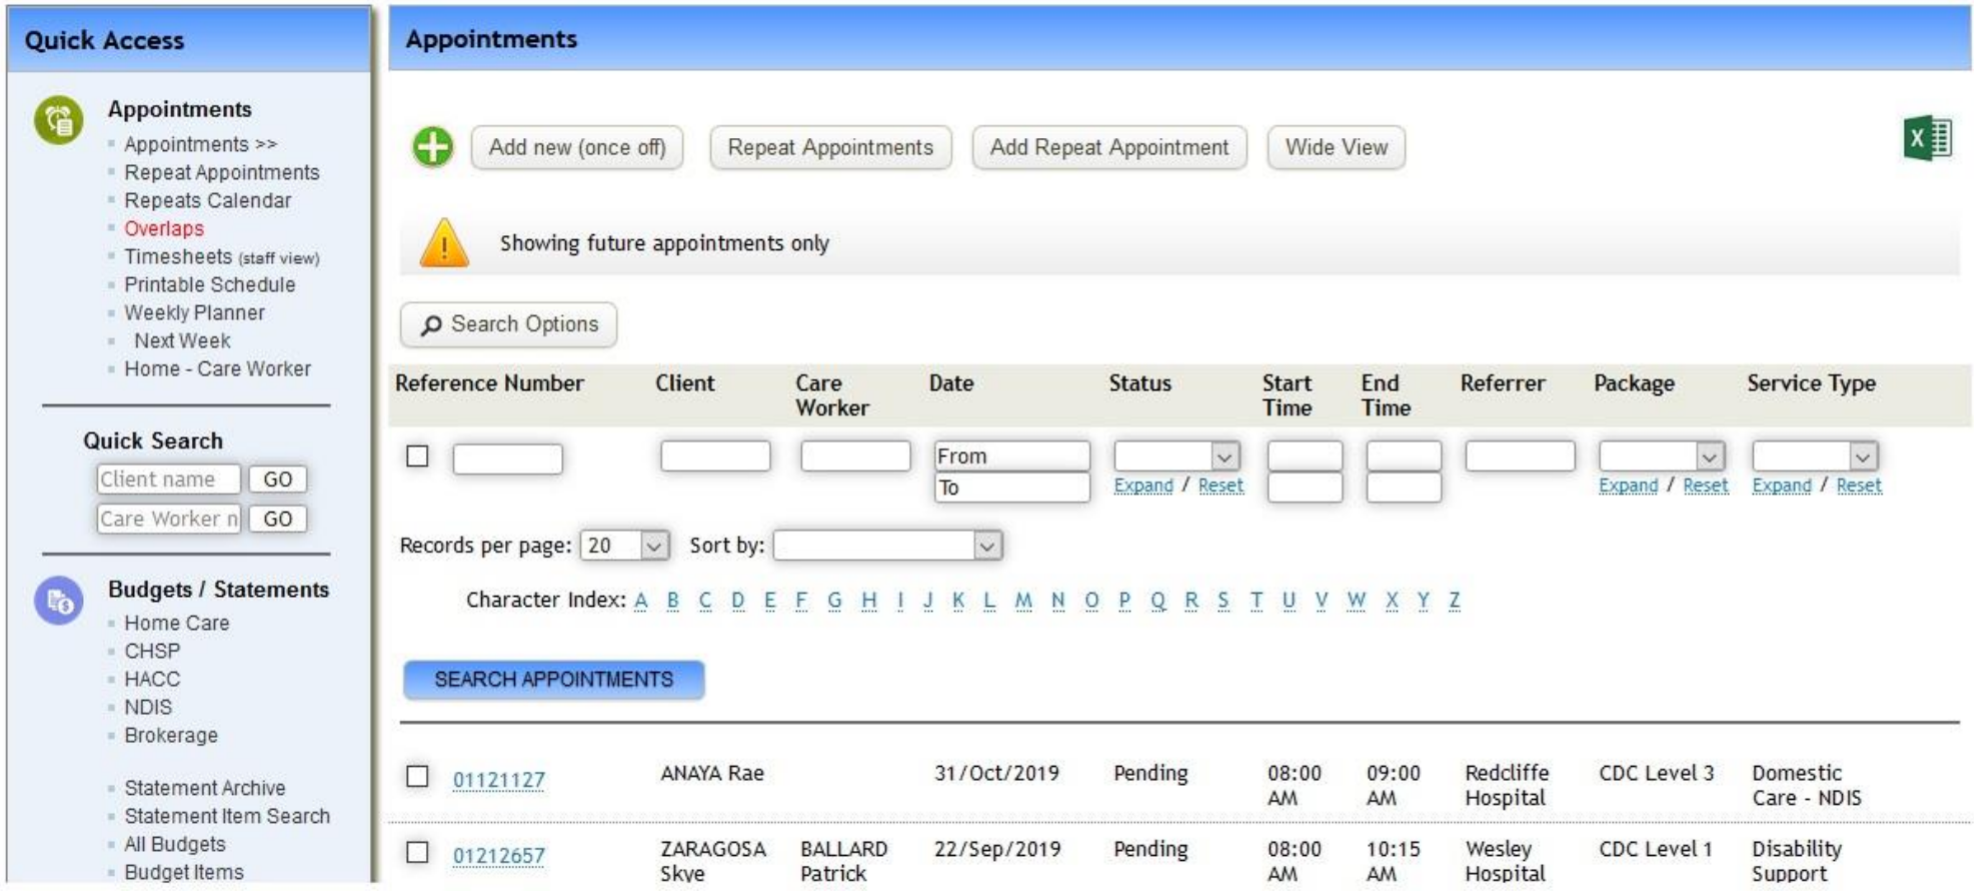
4. Add Repeats / Appointments
If you have not added the repeats as part of the budget setup, or you need to add additional ones – you can do in the same process other appointments are added to the system:

5. Generate NDIS Invoices
From the top menu under “Invoices” - “NDIS Invoices” select “>> Generate”.
Select the data range you wish to generate invoices for and click PREVIEW.

Check the appointments you wish to generate invoices for. Scroll down and click “Generate Invoices”

Invoices will now be generated.
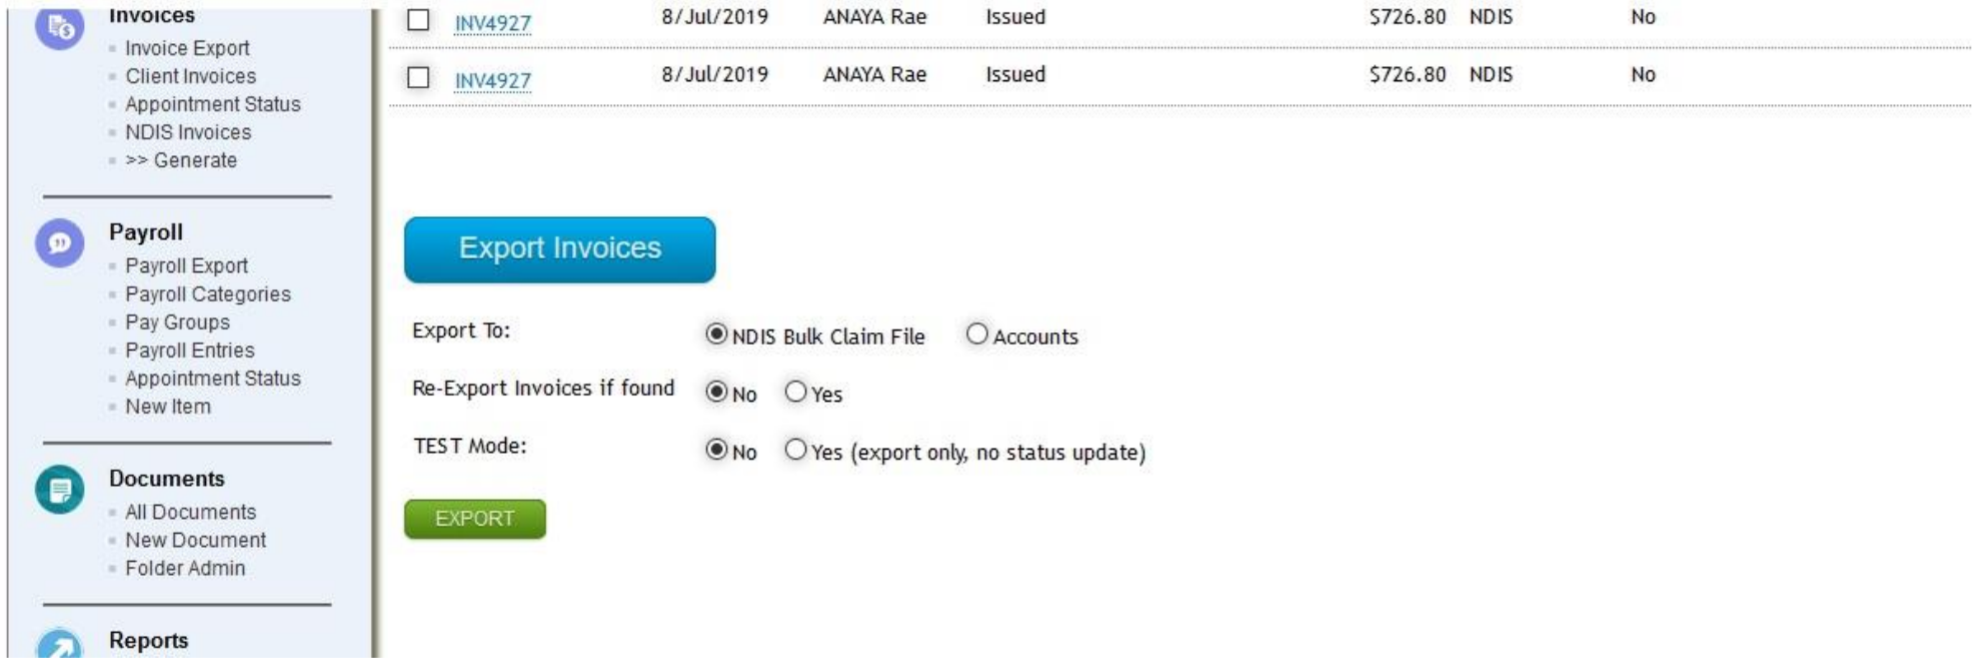
You can now proceed to “Invoices” >> “NDIS Invoices”:

Select the invoices you want to export a CSV file for or an accounting system export, scroll down and follow the prompts to EXPORT.
You can preview invoice items and make corrections in the screen below

Cancellations
When cancelling NDIS appointments you will get the following options.

These will be used to populate NDIS payment request files, see below in blue.

Transport
Option 1: applying minutes of TRAVEL TO the client using the same support code
In appointment details you can add a number of chargeable minutes, as shown here
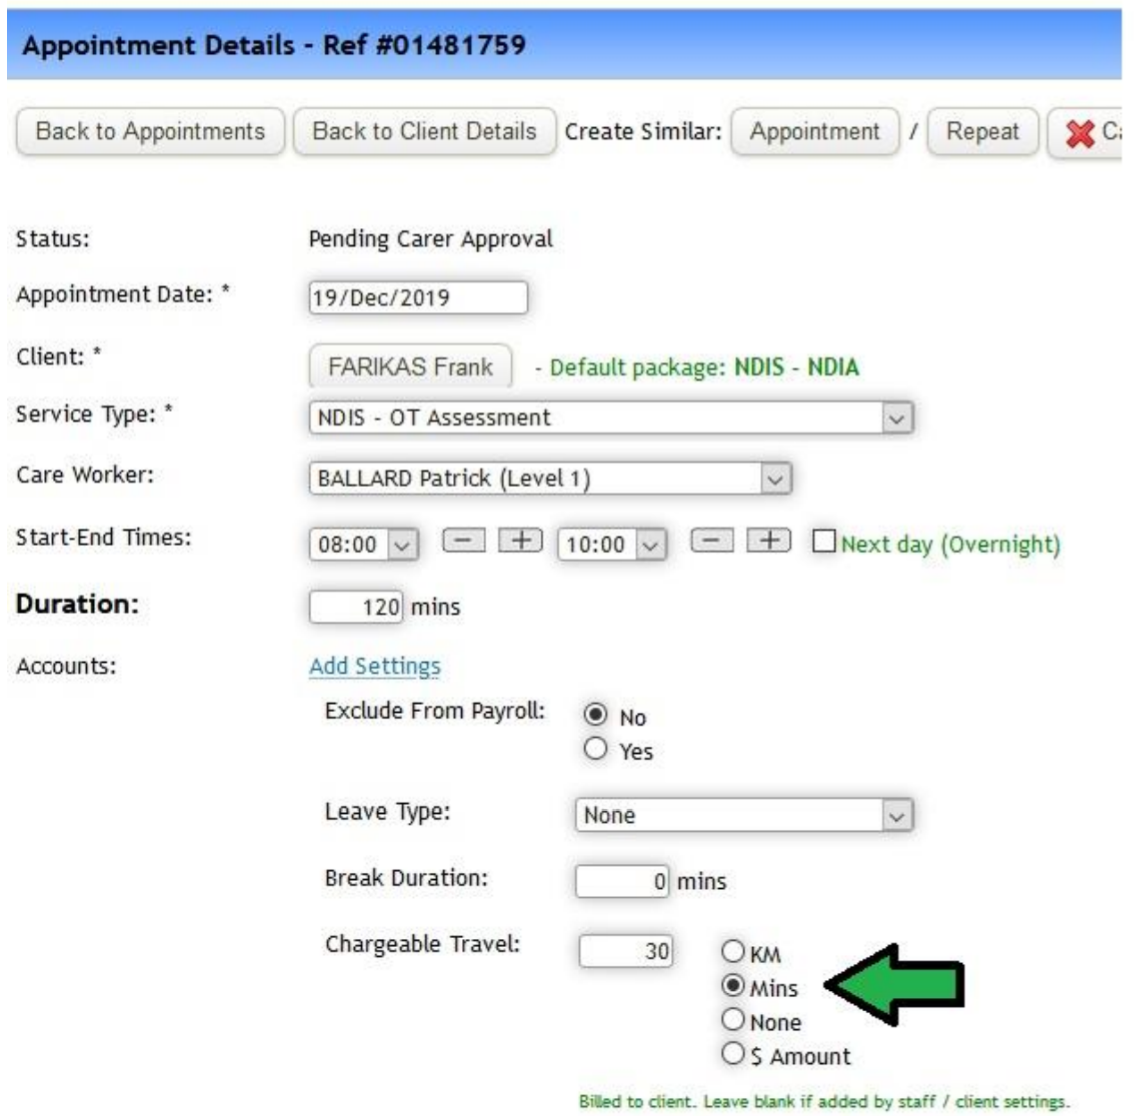
Any number greater than 0 will create a 2nd line in the NDIS payment request file under with the same setting as per the appointment with the claim type set to TRAN

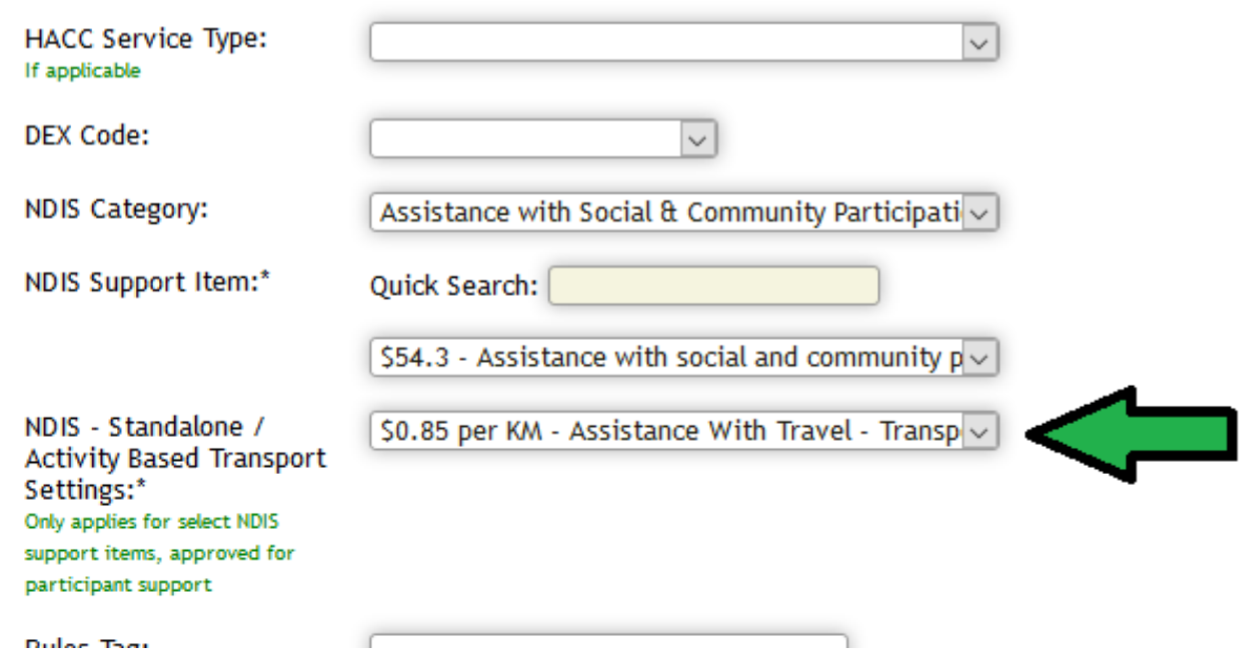
Option 2: Activity Based Transport
This lets you associate a service type with a support item code to be used for TRAVEL WITH a client and utilise the KMs entered by the care worker to populate the NDIS Invoice.
Simply select the relevant service type and find its NDIS settings. Then select the relevant code:
Once a care worker marks a relevant appointment as COMPLETE – the charge will appear on the NDIS invoice as below

Comments
0 comments
Please sign in to leave a comment.